If you love to cook, and don’t mind delayed gratification, making homemade pizza dough just might be your jam! Trust me when I tell you rolling your own is well worth the effort. And, if you have hesitated to make your own because you thought it might me tricky, I have put together a complete tutorial to remove the intimidation! So, no more waiting here’s How to Make Homemade Pizza Dough
(This post contains affiliate links from which I may make a commission. Your price remains the same.)
How to Make Homemade Pizza Dough:
THE TOOLS of The Trade:
There are a few items that make pizza making a whole lot easier: a rolling pin, a ceramic pizza stone, a pizza paddle, corn meal and a pizza slicer. (affiliate links)
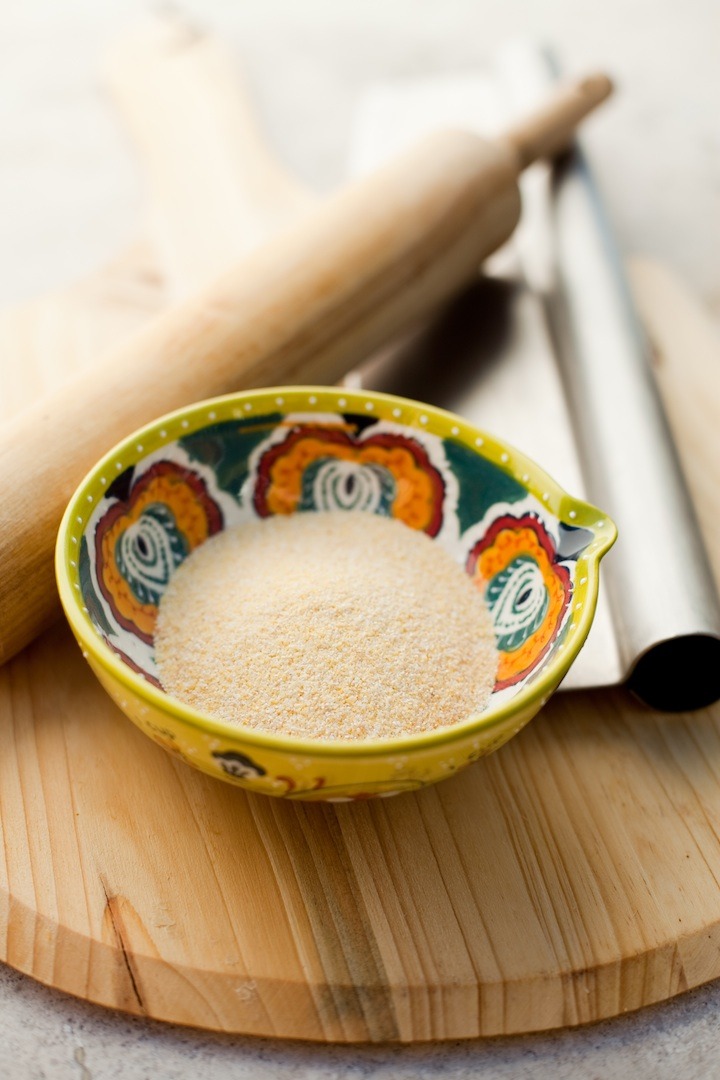
Why corn meal you ask?
Good question! Once your dough is rolled you sprinkle cornmeal on top of the paddle for easy transfer of dough onto the pizza stone. Placing a layer of corn meal on the paddle allows your pizza to slide right onto the stone with a little back and forth motion.. If you forget this step you will be very sorry!
Why a Pizza Stone and How to Use It:
I prefer using a pizza stone rather than a metal pan. It cooks more evenly and creates that crispy crust! Always put the stone into a cold oven on the bottom rack and then preheat at 450 degrees for at least a half hour before placing dough on stone. If you add a cold stone to a hot oven it could crack.
The Dough Tutorial: Complete recipe below
The key to a great pizza is the crust. If the crust isn’t amazing, it won’t matter what you put on it. So I make mine fresh using bread flour, yeast, water, honey and sea salt. Here is what the process looks like:

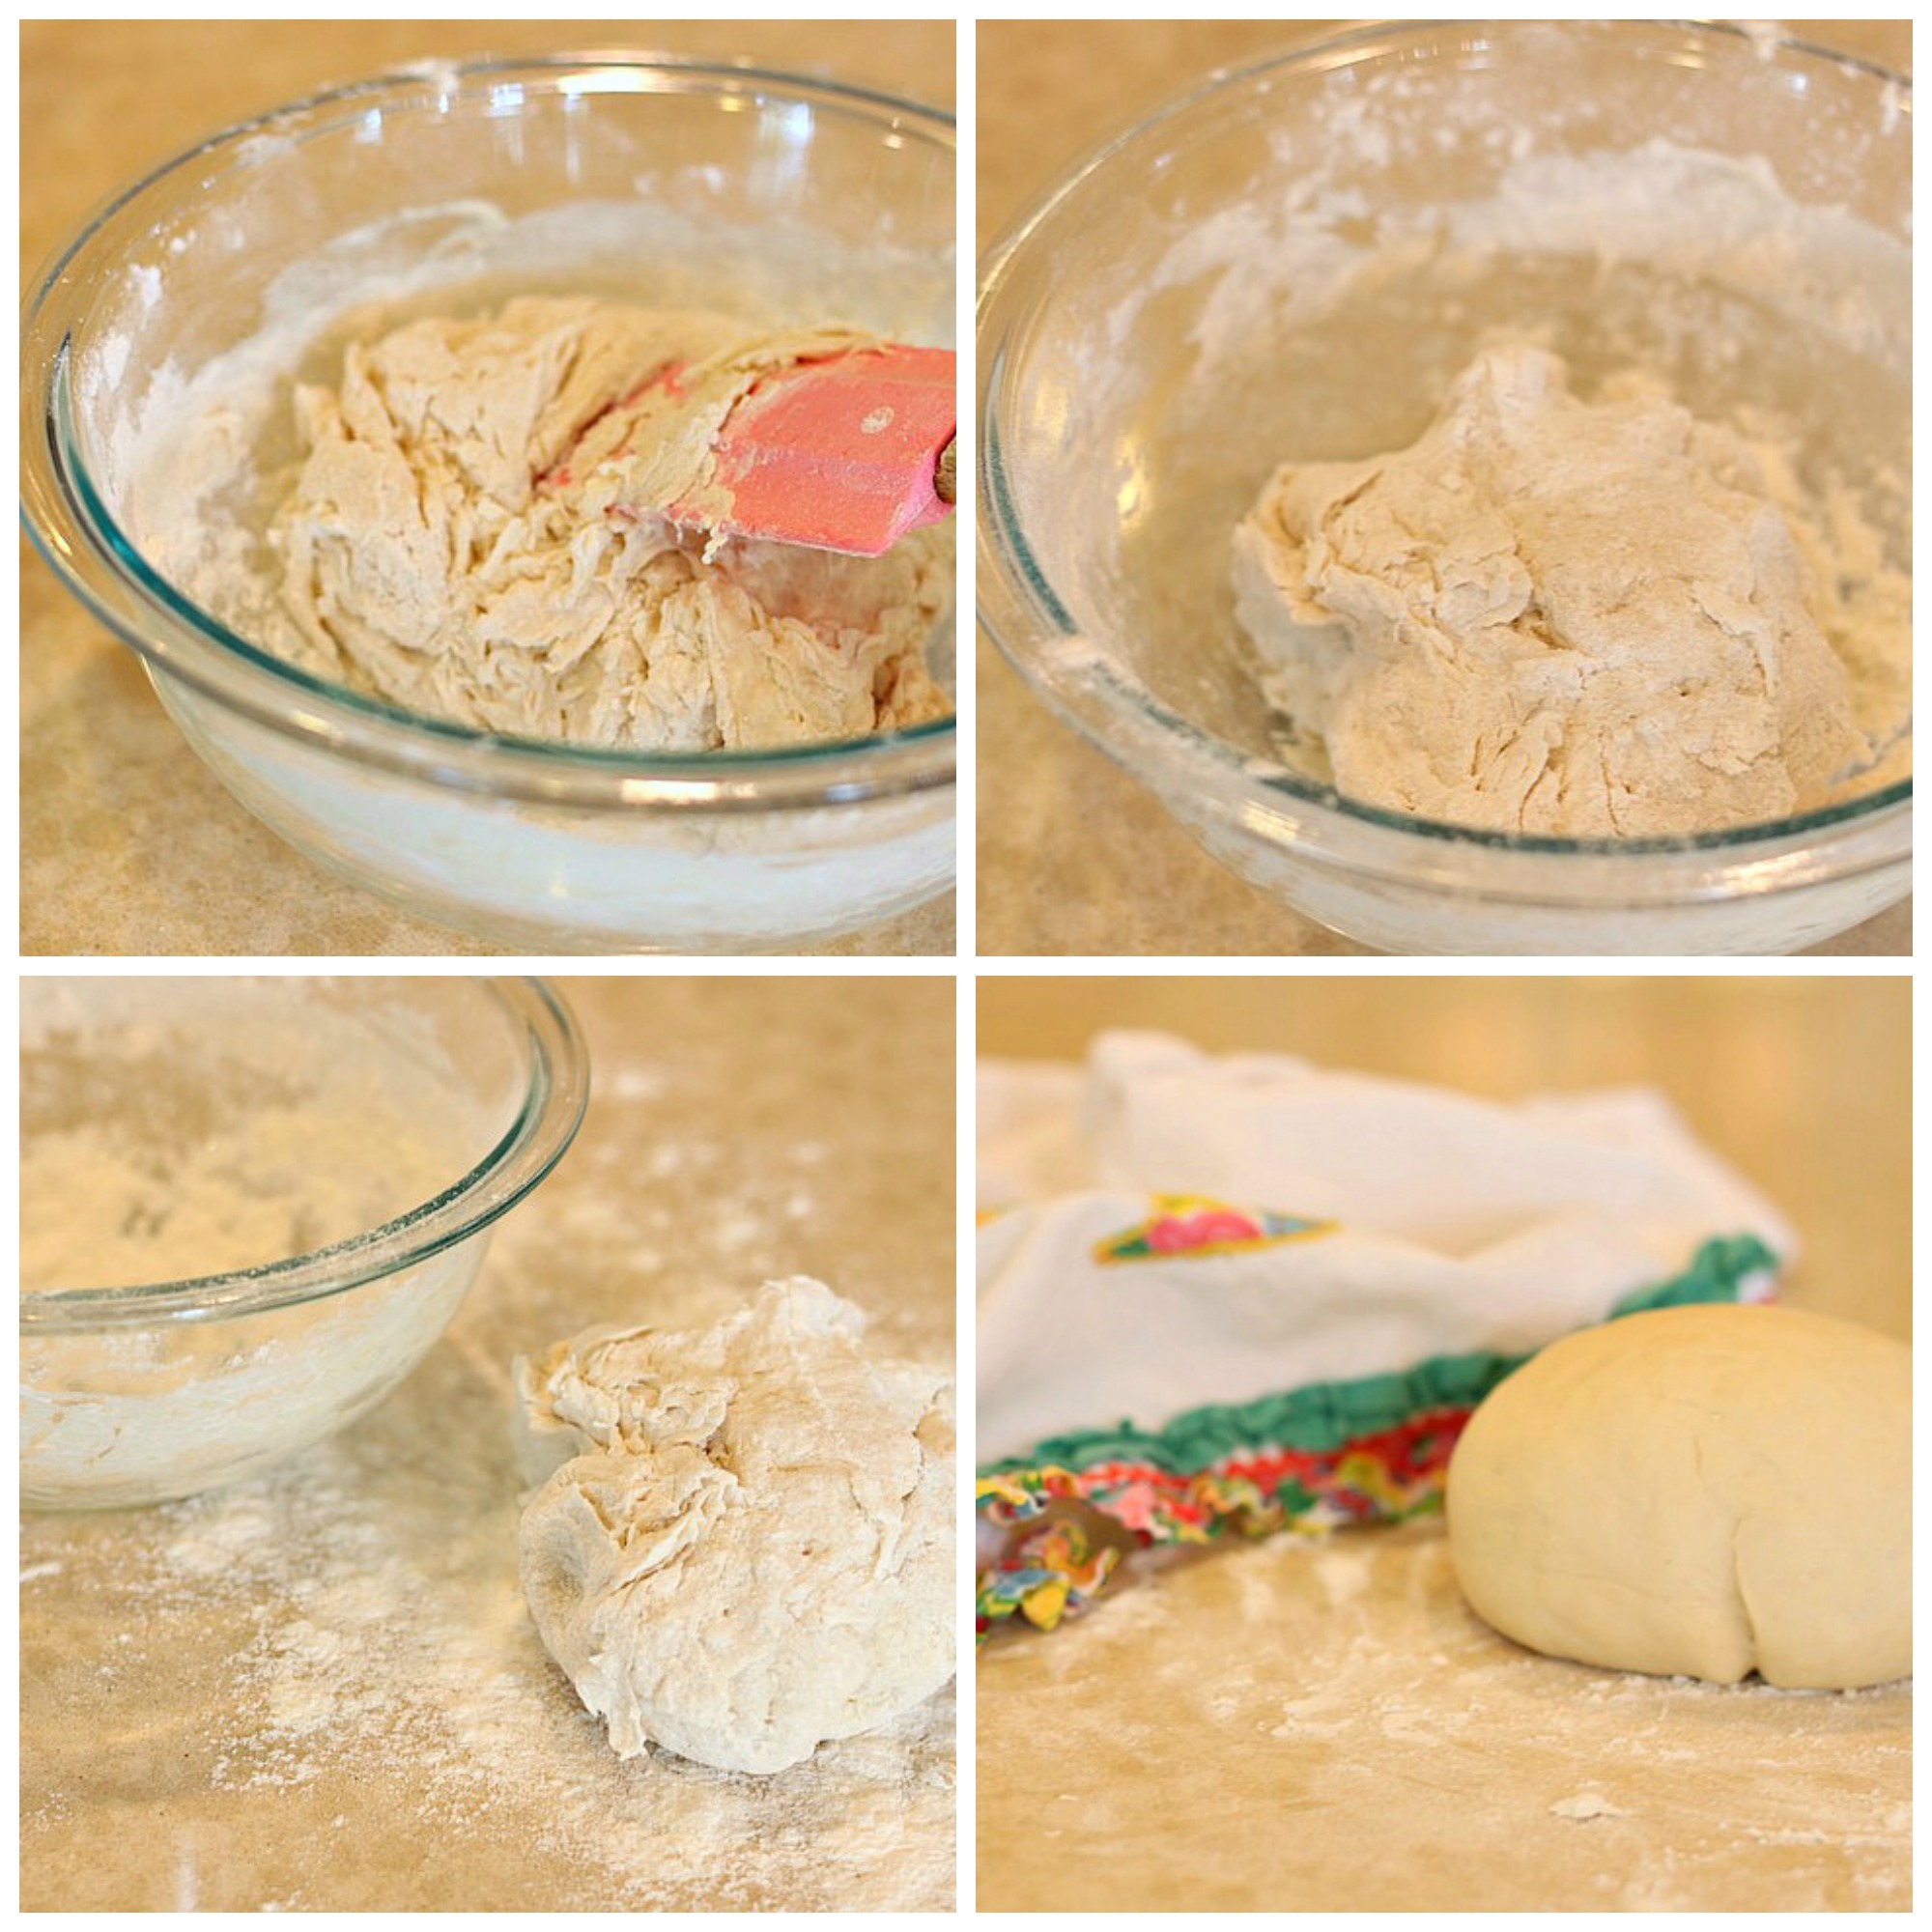
Mix a portion of the dough ingredients and allow to ‘rest’. This gives the yeast a chance to activate. Then combine with the rest of the ingredients and knead.
Choose Fast or Slow Rise:
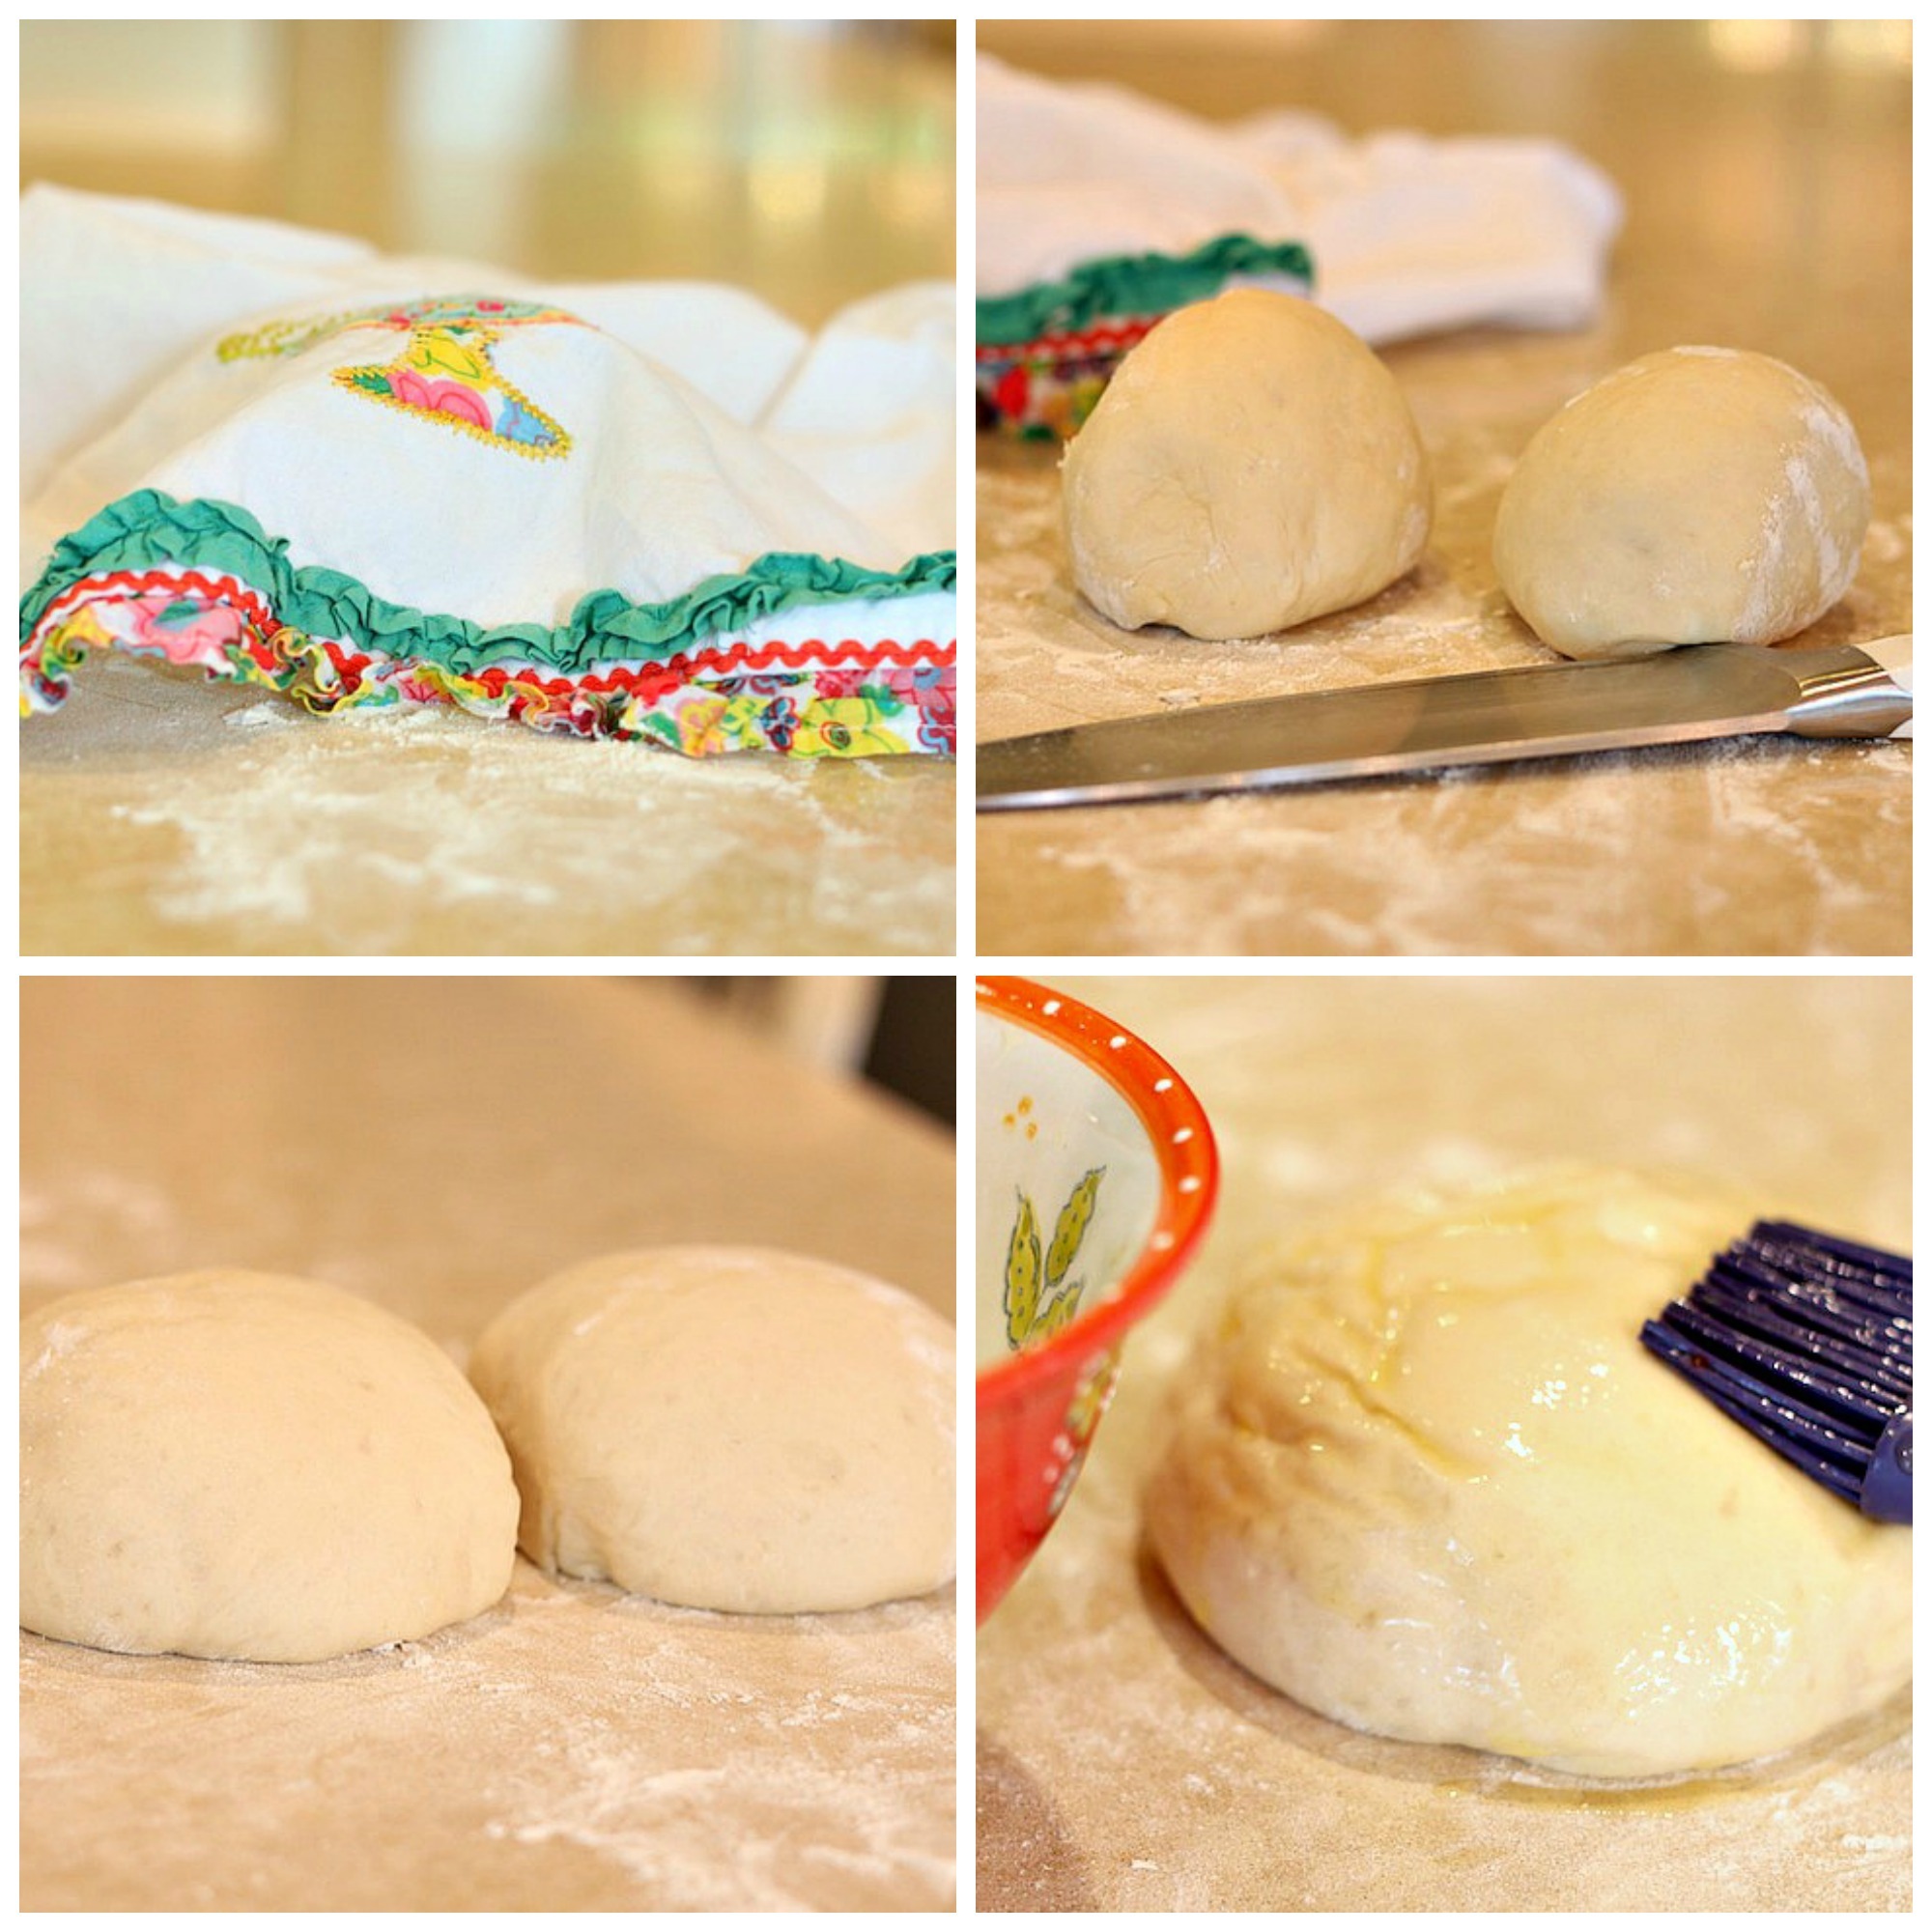
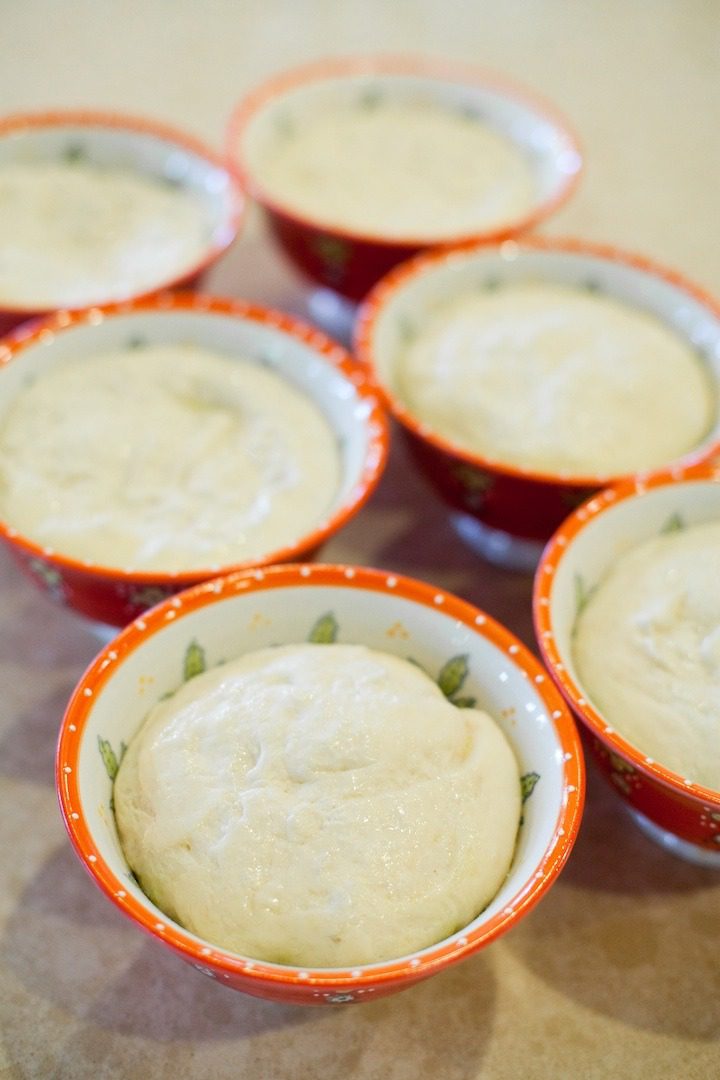
Allow dough to rise for 15 minutes and then cut the dough ball in half for two 9″ thin crust pizzas. If you are using the dough right away, let it rise for another hour and then roll out and top with your favorite toppings. Or you can brush dough with a little olive oil, place dough ball(s) into quart size baggies, or a glass bowl covered with plastic and let rise in the fridge for two days.
WHY THE SLOW RISE?
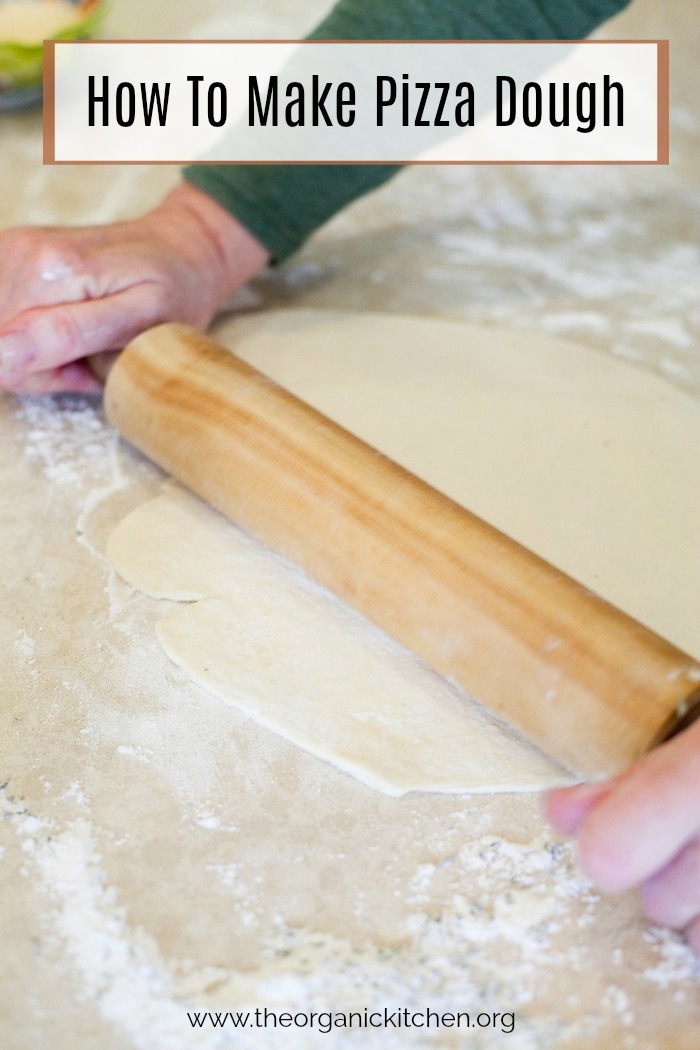
If you let the dough rise in the fridge over two days the dough ferments and therefore has more flavor and more body. Slow rise or not…it’s up to you! When you (and the dough) are ready simply roll it out. The shape and edges do not have to be perfect, in fact I love a more rustic looking pizza!
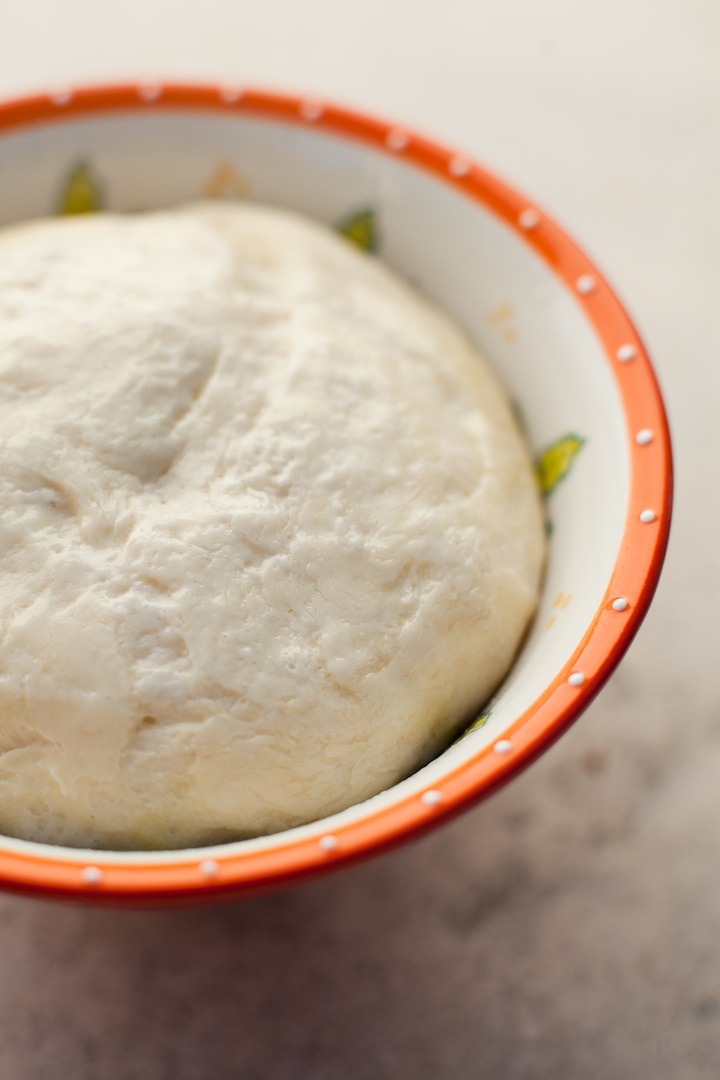
For my large family, we make quite a bit of dough!
What to Put On Top!
Now that you know how to make a fabulous pizza dough, the question of the day becomes what to put on top. I have some suggestions! If you are a fan of fresh herbs and succulent tomatoes, try my Fresh Tomato Basil Pizza!
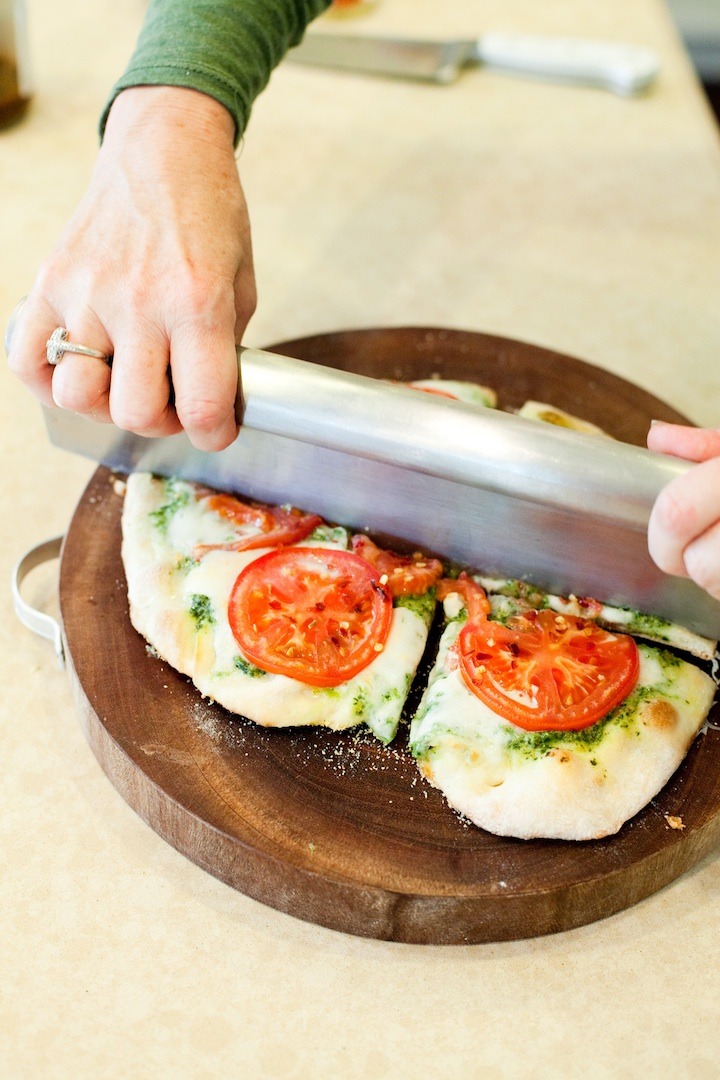
Vegetable lovers will love my Grilled Veggie Pizza!

BBQ lovers will appreciate this BBQ Chicken Pizza!

If you adore a combination of sweet and savory, this Caramelized Onion and Goat Cheese Pizza will make you swoon!

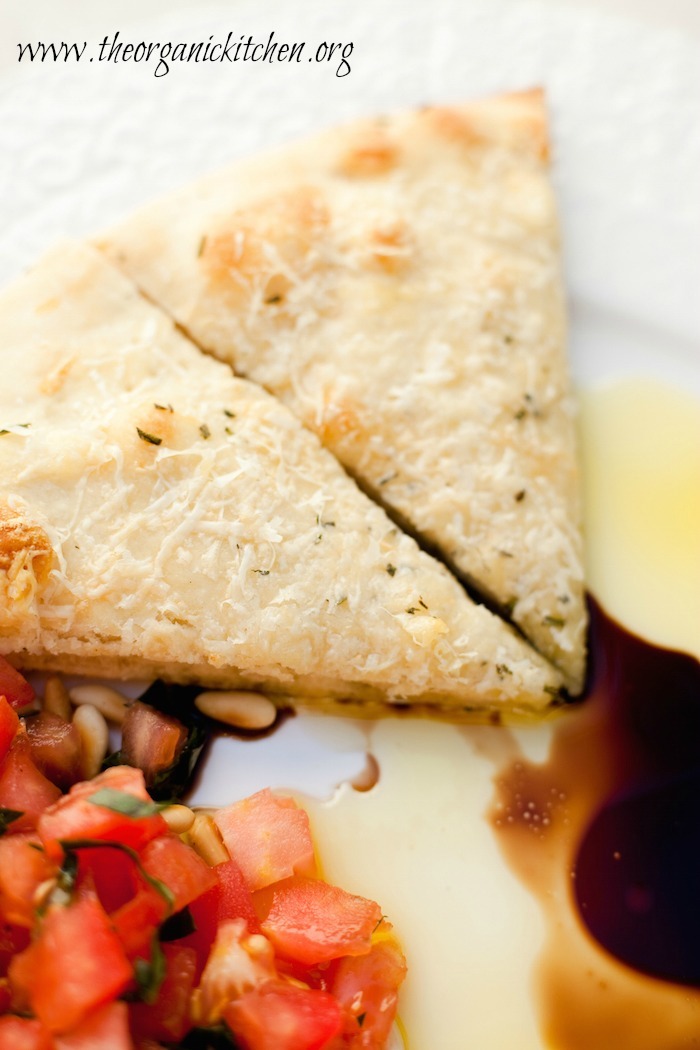
And last but not least, this Rosemary Flatbread with Dipping Oil and Tomatoes is fantastic!
THE RECIPE: How to make Homemade Pizza Dough
Tips and what you will need: Allowing dough to rise slowly over two days is recommended but you can also do a ‘fast’ method. Just know that either way the dough needs to rise for an hour and 15 minutes at the least! There are a few things you need for really great pizza, a rolling pin, a ceramic pizza stone, a pizza paddle, corn meal and a pizza slicer. (affiliate links)

Note: You can make your dough and allow to rise slowly over two days in the fridge, or use an hour after kneading if left on the counter.
- 1 ¾ cups bread flour, separated
- 1 ¾ teaspoon instant dry yeast
- 2 teaspoons honey
- ¾ cup warm water
- 1 teaspoon salt
- 1 ½ Tablespoons olive oil
- ¼ teaspoon garlic powder
- Corn meal, for use on the pizza paddle (must have!)
-
Measure out 1 ¾ cups flour and place in a bowl
-
Place ½ cup of the pre-measured flour into a separate large bowl
-
Add water, yeast and honey to bowl with the 1/2 cup flour
-
Whisk and set aside for 5 minutes.
-
After the mixture has rested for five minutes, add salt, garlic powder, and olive oil. Whisk until combined.
-
Add remaining flour to the dough mixture one 1/2 cup at a time and stir with a spoon or rubber spatula
-
When dough is combined, use your hands to knead into a dough ball
-
Turn dough ball out on a generously floured surface and knead for 6-8 minutes, adding small amounts of flour to surface until dough stops sticking to your hands and counter.
-
As soon as dough no longer sticks to hands or counter, stop adding flour
-
Knead until dough is smooth and elastic
-
Cover with clean dish towel and allow to sit for 15 minutes
-
After the fifteen minutes is up, cut the dough ball in half (this will make two 9" thin crust pizzas)
-
If you are using the dough right away, cover dough balls with dish towel and let them rise for another hour. Then, on a floured surface, roll out dough and top with your favorite toppings.
-
If you are using slow rise method: brush dough with a little olive oil, place dough ball(s) into quart size baggies or glass bowls covered with plastic and let rise in the fridge for two days. Then follow directions below for rolling and topping dough.
-
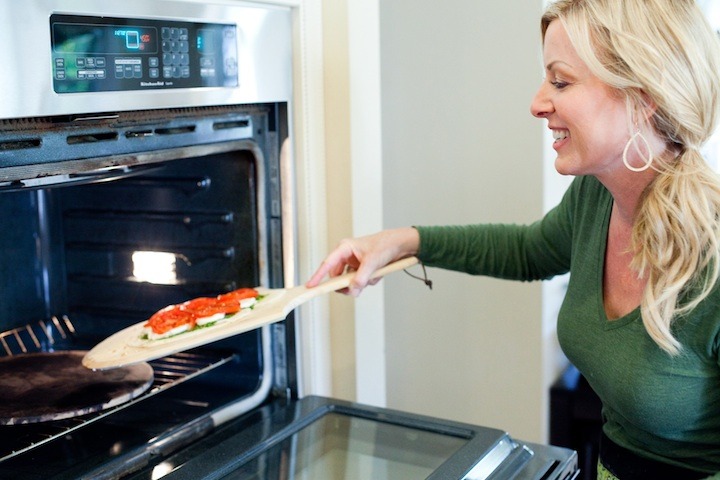
Place oven rack in lowest position. Place pizza stone on rack in cold oven. . Preheat oven to 450 degrees allowing stone to heat for at least 30 minutes before place pizza on stone.
On floured surface use rolling pin to roll out one dough ball into a 9" circle (does not have to perfect!) Place dough on a pizza paddle coated with corn meal. Place desired pizza toppings on dough.
To transfer pizza from paddle to stone: Place tip of paddle toward the back of the pizza stone. Then use sort of a jerky back and forth motion to slide the pizza off paddle and onto the stone. This can take a little finesse, but you'll get it.
Repeat with second dough ball.
MAY I PLEASE ASK A FAVOR?
We small bloggers need all the help we can get. Subscribing and sharing on social media is very appreciated!
STANDARD FTC DISCLOSURE and Privacy Policy: In order for me to support my blogging activities, I may receive monetary compensation or other types of remuneration for my endorsement, recommendation, testimonial and/or link to any products or services from this blog. Please note that I only endorse products that are in alignment withThe Organic Kitchen’’s ideals and that I believe would be of value to my readers.The Organic Kitchen is a participant in the Amazon Services LLC Associates Program, an affiliate advertising program designed to provide a means for sites to earn advertising fees by advertising and linking to Amazon.com. View The Organic Kitchen’s Privacy Policy






I see no temp or cook time listed…
Hi, yes, the cooking instructions are included in each pizza recipe linked in the blog post. But I can add them here too. Thanks.