I have a confession to make. I used to have my kids make butter when they were driving me crazy. Which was often. Let’s just say…we had a lot of butter. I would hand them a small baby food jar filled with cream and a pinch of sea salt and tell them to take turns shaking it until it became butter. It kept them busy for about 15 minutes, which is a long time in mom minutes. But butter making isn’t just a way to keep kids occupied, grown ups love it too. So I decided to make a step by step tutorial: How to Make Raw or Pasteurized Butter! No baby food jars or shaking required.
(This post contains affiliate links. I may make a commission from sales but your price remains the same.)
It’s Not 1850, Why Make Your Own Butter?
First and not surprisingly, homemade butter tastes better than store bought. It just does, I can’t tell you why other than that you are going to be using the thickest, best quality organic cream you can find and an excellent sea salt. But there is another reason to make butter! I, on occasion find myself with too much cream. I buy cream for a recipe and use only a portion and have no use for the rest. Rather than waste it, I turn it into butter!
How To:
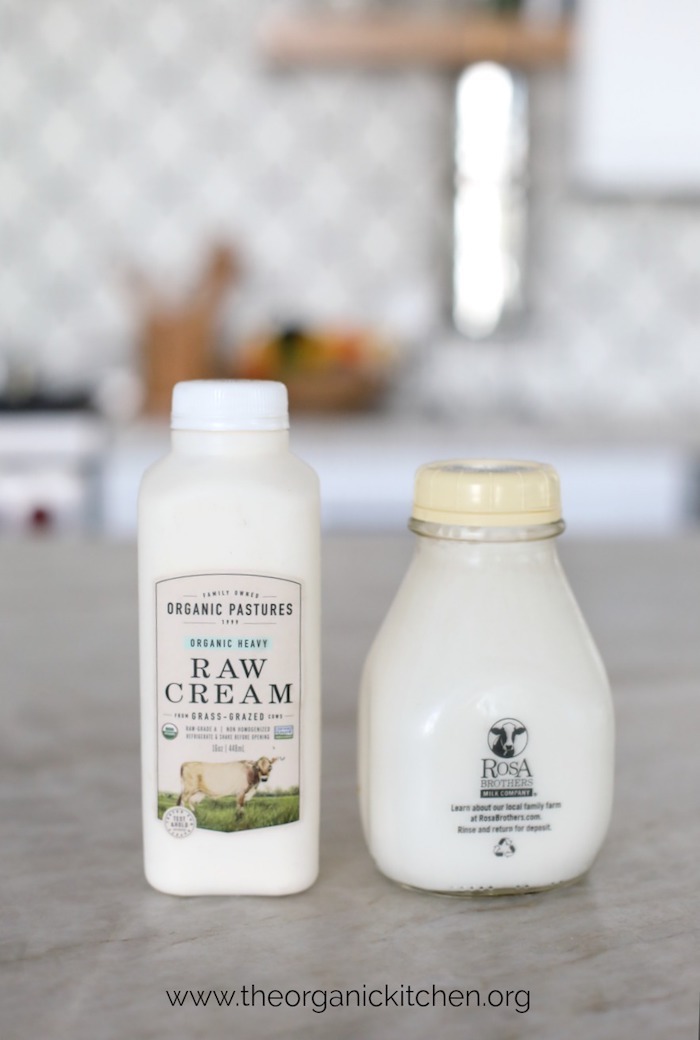
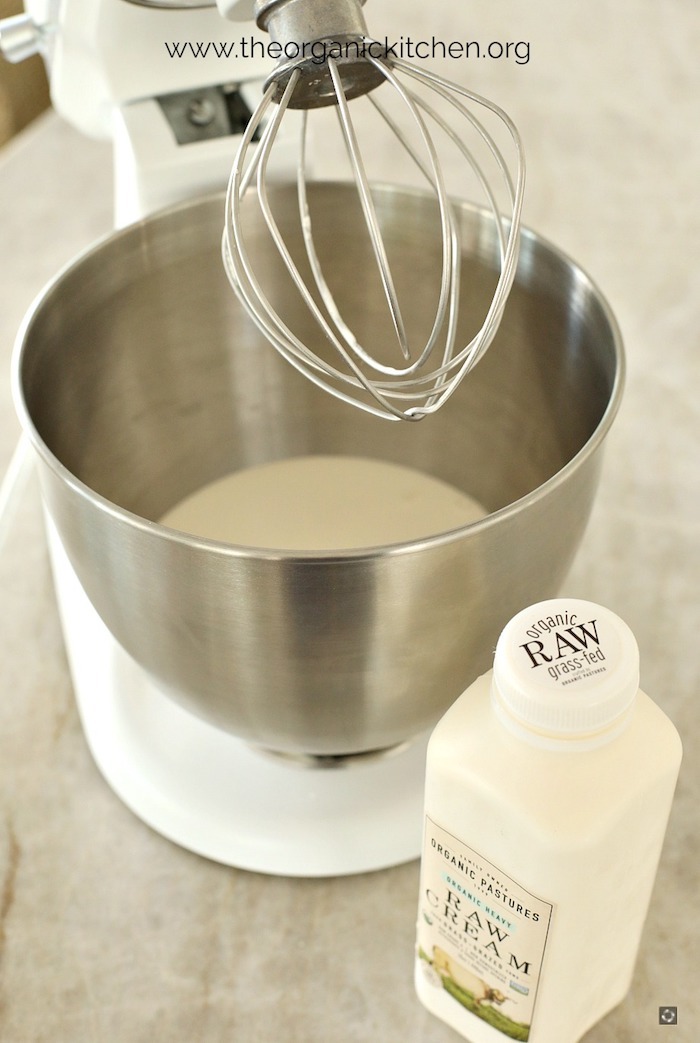
Obviously I am giving you a recipe below, but here is the run down step by step….whip up some heavy cream (raw or pasteurized cream it’s up to you). Be sure to buy the thickest, creamiest organic cream you can find. My favorite is raw and grass fed.
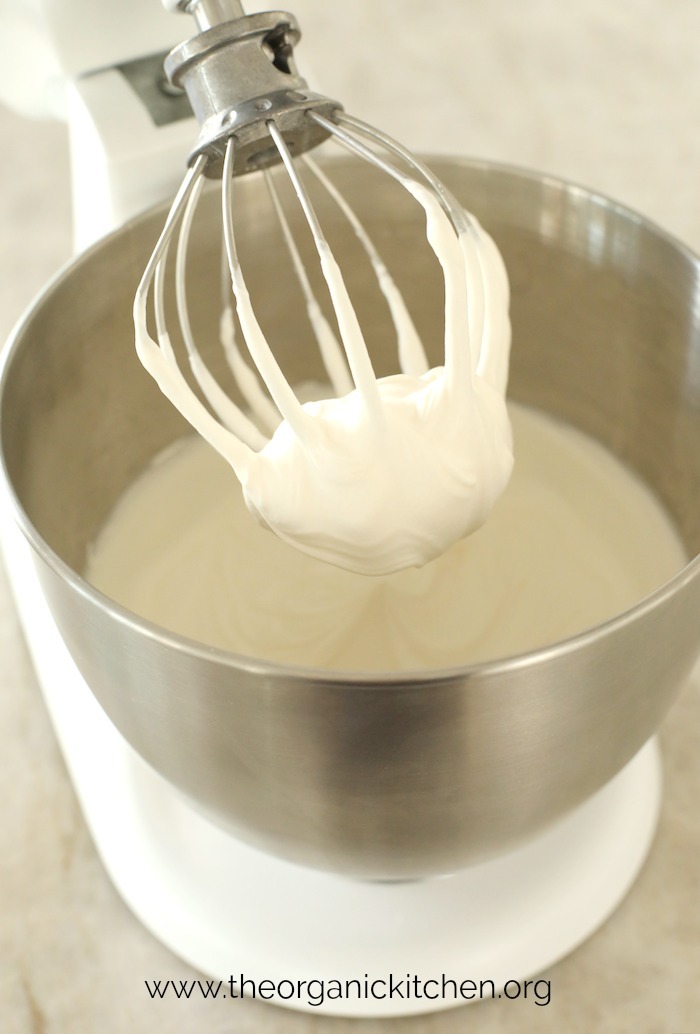
When It Looks Like Whipped Cream You’re Halfway There!
I would guess most of us have made whipped cream, making butter is very similar. When the cream looks like whipped cream you add a pinch of sea salt and just keep on whipping! By the way, I adore my Mini KitchenAid Stand Mixer. It’s small and light and fits in a regular size cupboard without killing my shoulders every time I pull it out!
Ah… We Have Butter. And Guess What? It’s Good For You!
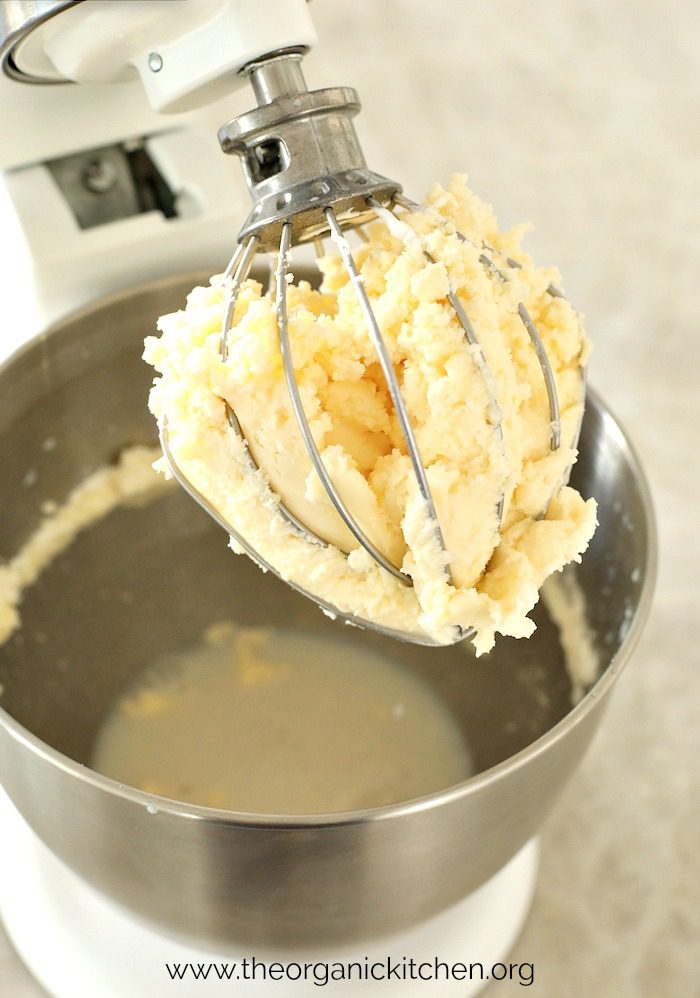
A few minutes after achieving whipped cream status, you will reach ‘butter status’. Thick, sweet cream butter! Now, I know butter has gotten a bad rap in the past, but butter has many healthful properties. Butter contains CLA, a type of fat that may have cancer-fighting properties, as well as help reduce body fat and improve immune function. Butter is rich in butyrate, a type of short chain fatty acid that has been associated with several benefits including reduced inflammation, reduced insulin sensitivity and electrolyte balancing. Butyrate is also produced by the beneficial bacteria in your gut and is used as a source of energy for the cells in your intestines. One tablespoon of butter contains 11% of your daily requirement of Vitamin A and 2% of your daily requirement of Vitamin E and K!

The Buttermilk:
Buttermilk is a byproduct of making butter, see it there in the mixing bowl? After making the butter you can strain the butter milk and save it in the fridge for up to a week or freeze for later use in my Vanilla Buttermilk Cake. See what I did there:)
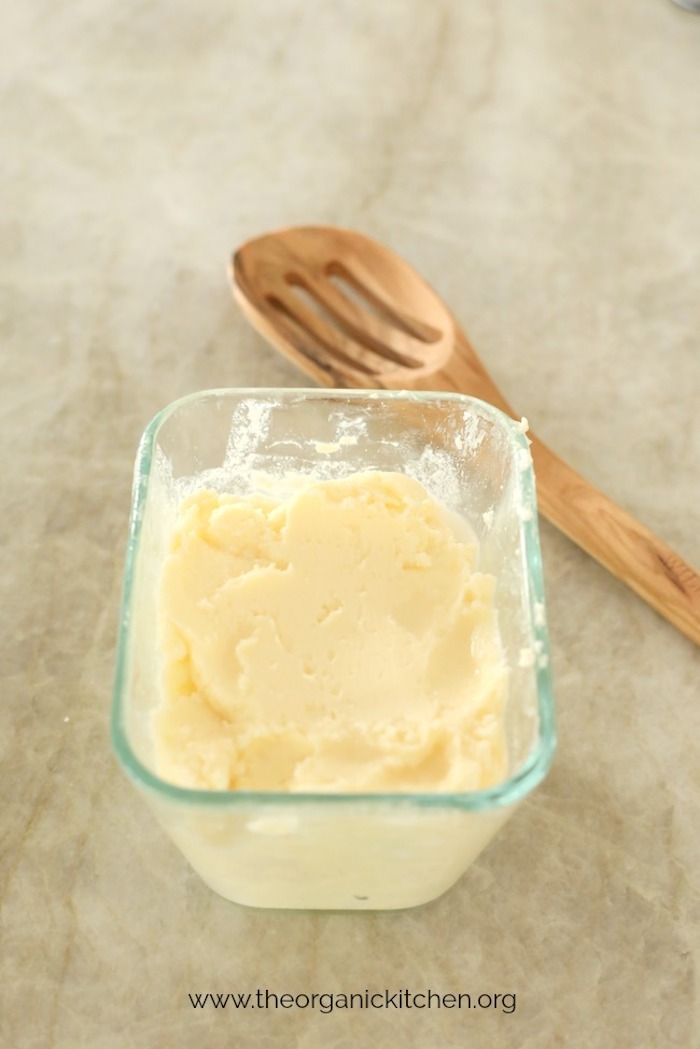
“Washing” and Storing Butter:
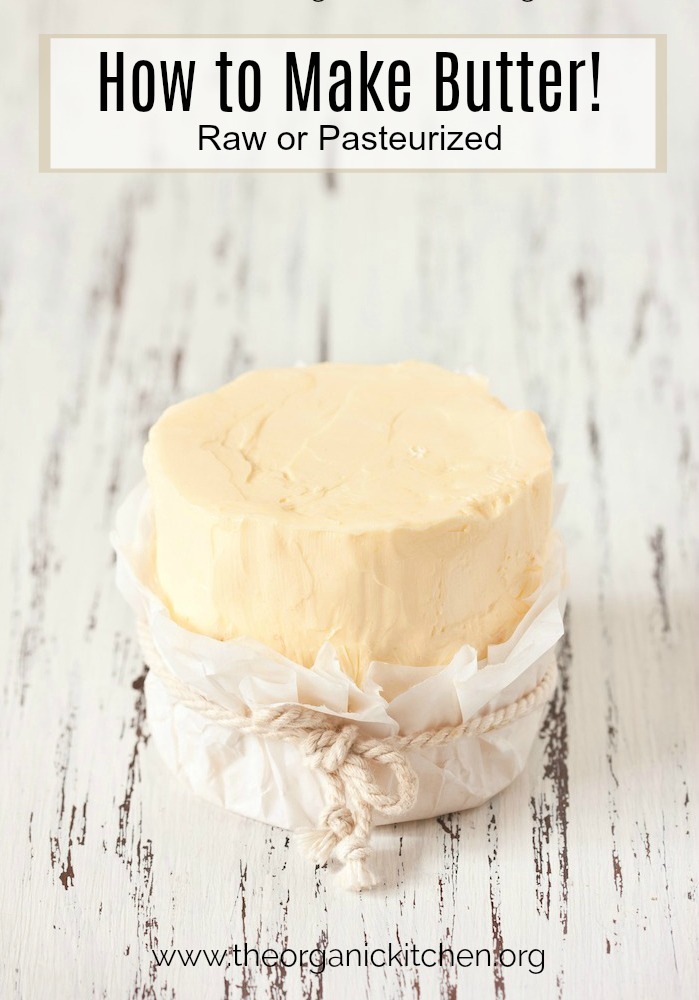
If you are going to use your butter right away, you can stop here. If you would like it to keep for weeks or months, you should “wash it”. That simply means you place it in ice water and press out the excess buttermilk you didn’t quite strain out on the first try. If you would like to see a video on washing butter click here. After washing, you can store it however you like in any shape you like. You can spoon onto parchment paper and form into a log and wrap it up, or store in an airtight container, or press into a mold of your choice! Butter lasts 6-9 months in the fridge!
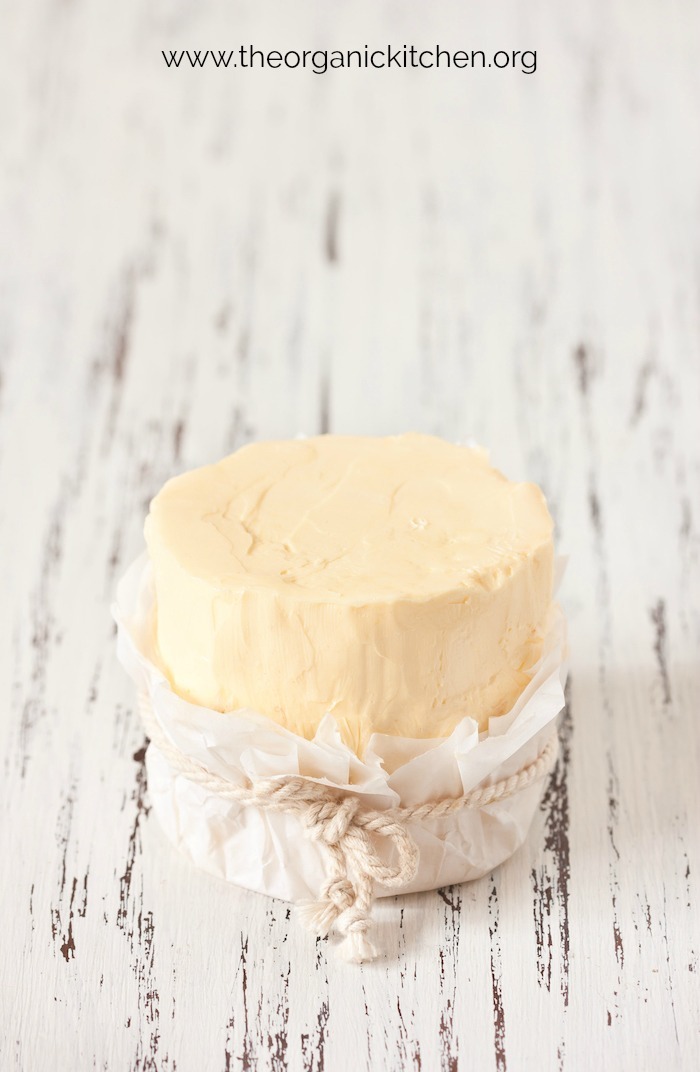
Personally, I Think Homemade Butter Makes a Great Gift!
Need a gift for the neighbors, teachers, mailman or your best pal? Butter baby. I mean wouldn’t you be thrilled to receive creamy homemade organic grass fed sweet cream butter wrapped in parchment and a cute string? Or in a decorated mason jar? I would be your BBF if you gave this to me. But then again I made my kids make butter as a punishment…so there’s that.
Want More ‘How To’s”?
Learn: How to Roast a Red Bell Pepper, How to Seed a Pomegranate in Two Minutes, How to Fry the Perfect Egg, How to Caramelize Onions, or How to Peel Garlic!
The Recipe: How to Make Raw or Pasteurized Butter
What you need: a mixer ( I love my Mini KitchenAid Stand Mixer) and a quality sea salt. I buy the tub to save a lot of money! You will need cheese cloth or a mesh strainer (also known as a nut milk bag) to strain buttermilk.
15 minutes to fresh, sweet cream butter!
- 1 pint heavy cream
- pinch sea salt
-
Place cream in mixer and mix on low/med speed for about five minutes or until bubbles form (you can place the splash guard on your mixer or cover with a dish towel to prevent splatter)
-
Add salt, then move speed up to med/high until cream looks like whipped cream
-
Once whipped cream is achieved set mixer on high speed and keep a close eye, it goes from whipped cream to butter pretty quickly! Once you have butter let the mixer continue and it will force the liquid out of the butter, making buttermilk! Turn off mixer
-
Place butter in a cheese cloth or "nut bag" and squeeze out as much buttermilk as you can. Pour buttermilk through a mesh strainer to remove any butter chunks. You can store buttermilk in the fridge for a week or freeze in ice cube tray to freeze, and then thaw as needed. If you are using butter right away you can stop here. If you'd like to keep it for weeks or months you'll want to "wash it" to avoid having the smell of buttermilk.
-
Rinse out mixing bowl. Remove the butter from the cloth and place it back in the bowl. Add 1/2 cup of ice water to the bowl, and use a spatula to press the butter into the ice water. The water will become milky. Pour off the cloudy water, add another 1/2 cup of ice water to the bowl, and press again. Repeat until the water is clear. This may take 5-6 washings. The butter will firm up towards the end, so you may find using your hands works better at this point.
-
Scoop butter into a any dish you wish or place on parchment or wax paper and use hands to form into a log and wrap it up! Cover butter and store in the fridge for up to 3 months or freeze for up to a year, removing to soften as needed.
MAY I PLEASE ASK A FAVOR?
We small bloggers need all the help we can get. Subscribing and sharing on social media is very appreciated!
STANDARD FTC DISCLOSURE and Privacy Policy: In order for me to support my blogging activities, I may receive monetary compensation or other types of remuneration for my endorsement, recommendation, testimonial and/or link to any products or services from this blog. Please note that I only endorse products that are in alignment withThe Organic Kitchen’’s ideals and that I believe would be of value to my readers.The Organic Kitchen is a participant in the Amazon Services LLC Associates Program, an affiliate advertising program designed to provide a means for sites to earn advertising fees by advertising and linking to Amazon.com. View The Organic Kitchen’s Privacy Policy

Really enjoyable learning! Thank you!
hank you Jan!
I’ve always wanted to try this, and it looks easier than I thought!
So easy!
Going to try this, thanks. How much butter do you get from 4 pints of cream? What’s the ratio more or less?
I have never made a batch that big so I can’t really tell you (I don’t like the “washing” process so I make 1 pint at a time) When I make a single pint it makes roughly 1 1/2 to 2 cups butter. But it does depend on how heavy your cream is:)
I love homemade butter! Whenever I can get my hands on some raw cream, i am going to have to make this.
It DOES taste so much better, you’re right! I was surprised, and it was SO easy to do too!
As always, a great tutorial! I made butter by accident one time.. when making whipped cream (true) and so, for fun, I threw in some herbs.. it was fabulous.
This looks like more fun, and less panicky.. and yummy!
Lol. Way to save the day Carol!
Love this tutorial – thank you for the detailed explanation! Quick question if making an herb butter, can I add the minced herbs dying the whipping stage or do I have to wait until the butter has been separated from the buttermilk? Thanks again!
Add it after separating the butter from the buttermilk. Thanks for a great question!
Oh my goodness. You made my day. We are leaving town somewhat unexpectedly,
or an undetermined length of time. I had quite a bit of organic cream. I had thought of butter. I grew up making our own butter from our own cZoe’s. What fun this was! Furthermore, I going to be babysitting the
grandkids, 6, 4 & 4. They love to spend time with me in the kitchen. Butter making will be a blast! And what a fun thing to learn! Thanks!!
Awesome! I am going to make it with my grandkids too!
lol laughing so hard at the mom story and wishing I would have thought of that when my kids were little! So easy to make, I need to try!
Make them do it now 🙂
This was much easier than I thought it would be & the butter is so very creamy!
Ooooh man. If only I could have dairy! My family will love this, though…
Haha loving your idea of getting the kids to help to keep them busy for 15 minutes. I’m sold! Great tutorial thanks!
A mom’s gotta do what a mom’s gotta do!
What a great tutorial. I’m so excited to try this recipe!
Thank you for this wonderful step by step detail on how to make delicious and creamy butter!
Making butter has always seemed like such a difficult task. This recipe gives me new hope! And butter just tastes better on everything, right?!
I love making my own butter! Great tutorial!
So great, I love homemade butter! So much better than store bought stuff, and it can be so much healthier, too!
I’ve actually made butter from accidentally whipping cream for too long but now I know how to do it on purpose! 😉 This is a great way to use up grass-fed cream. Thanks for the ideas and the tips!
I turned Macadamia nuts into nut butter once when I was making nut crusted halibut! It happens to the best of us, but at least we got butter and nut butter from our mistakes:)
You know what? After reading this, i have decided to make one. It looks really easy in the kitchen aid, that it needs to be done. I knew about the mason Jar trick, but that would have taken too much labor. So let the shops open and i will be rolling in. Thanks a lot for this
I’ve always wanted to try this! Definitely feeling inspired now. 🙂
Such a funny and great story Linda! LOVE that you’ve made this for years and that you use a stand mixer for yours. Super helpful recipe! Cream and butter are two of my favorite foods; the third is sour cream. 😉
Thanks Megan! I have to say butter is in my top three!
This is so neat! I never knew that it was this easy to make!
So easy! And a great distraction for the kids!
This did not work at all once I got to the washing part. The only thing that did was give me buttery water and it never firmed up. My water never became clear. I had nice firm butter that ended up a watery goo. A video would be nice to go along with how to “wash butter” without losing the entire batch of butter you made.
Oh April I am so sorry that happened! I bet there is a video on YouTube, that said, I almost wonder if I should just remove that instruction. I always use my butter immediately so I have never had an issue if I didn’t “wash it”. I am going to think over whether or not to keep that instruction in the post. Shoot!
Great recipe! Super easy to follow. I mixed my cream for over 40 minutes and was about to give up on it, but stuck with it and eventually got butter. I did some research and found that room temp cream will turn quicker. Just some feedback in case others run into the same issue.
Thank you! I will add that tip!
I have made homemade butter before, but did not wash it. The video helps a lot, thank you. I use the leftover butter milk to make Bleu (Blue) Cheese Dressing and Ranch Dressing.
Oh that sounds amazing!
Straightforward recipe. Thank you! (There are 2 cups in a pint, not 4)
Thank you Kevin! I corrected. Sometimes my brain doesn’t work.